
Before the cost got completely out of control around here in the last couple of years, I still enjoyed taking photos on 35mm film. One of the film cameras in my collection that I really liked using was my Fotodiox Twin Lens Reflex camera, which I built from a kit.

This is a Build It Yourself, TLR camera kit. TLR stands for twin lens reflex. This basically means that, the camera has two lenses, one that projects an image onto the film, and another through which the user views to frame the shot. The lenses are one on-top of the other, and you look down, into a hooded view finder with a mirror, which allows you to see the scene in front of you.
This particular camera uses 35mm film, which is manually wound between snaps. Apart from the springs used for the shutter and a number of tiny screws (which holds the camera together) this camera is all plastic, including the lens. But, this isn’t a bad thing. The plastic that is used in this kit is pretty good quality; nice and heavy, which ultimately makes a surprisingly sturdy camera.
Along with all of the necessary parts, the kit includes assembly instructions as well as a few tips on taking photographs with this particular camera.

It took me approximately two hours to put the camera together. Now that I’ve done it once, I think that I could build another one in half that time. The reason that it took longer to do the first time is that there was a bit of deciphering going on, as it appeared to me that the instructions were translated into English from another language. And with most things when they’re translated, sometimes sentences don’t make compete sense.
The most complicated (and as a result, time consuming) part of the build was the assembly of the shutter mechanism. I can’t put all the blame on the translation for this part, as the positioning of one of the springs in the mechanism had to be placed in a certain way that I would have had a tough time to put into words if I were writing the manual. But, with a bit of reverse engineering on my part, I was able to figure it out. And if I had to do it again, I’d have the shutter assembled in just a few minutes.

What I really enjoyed was seeing how all of these pieces come together to build a camera. It gave me a better understanding of how a camera actually works to produce a photograph. As a result of this hands-on approach, I was able to make a small adjustment to the shutter mechanism that provides me a way to take long-exposure photos. This wasn’t something described in the instructions, but, as I was trying to figure out how the mechanism worked, this minor adjustment was easy to implement.
This was a fun project and it sent me back to my model building days, when I was a kid. Of course, I’m glad that I didn’t have to glue anything together this time.
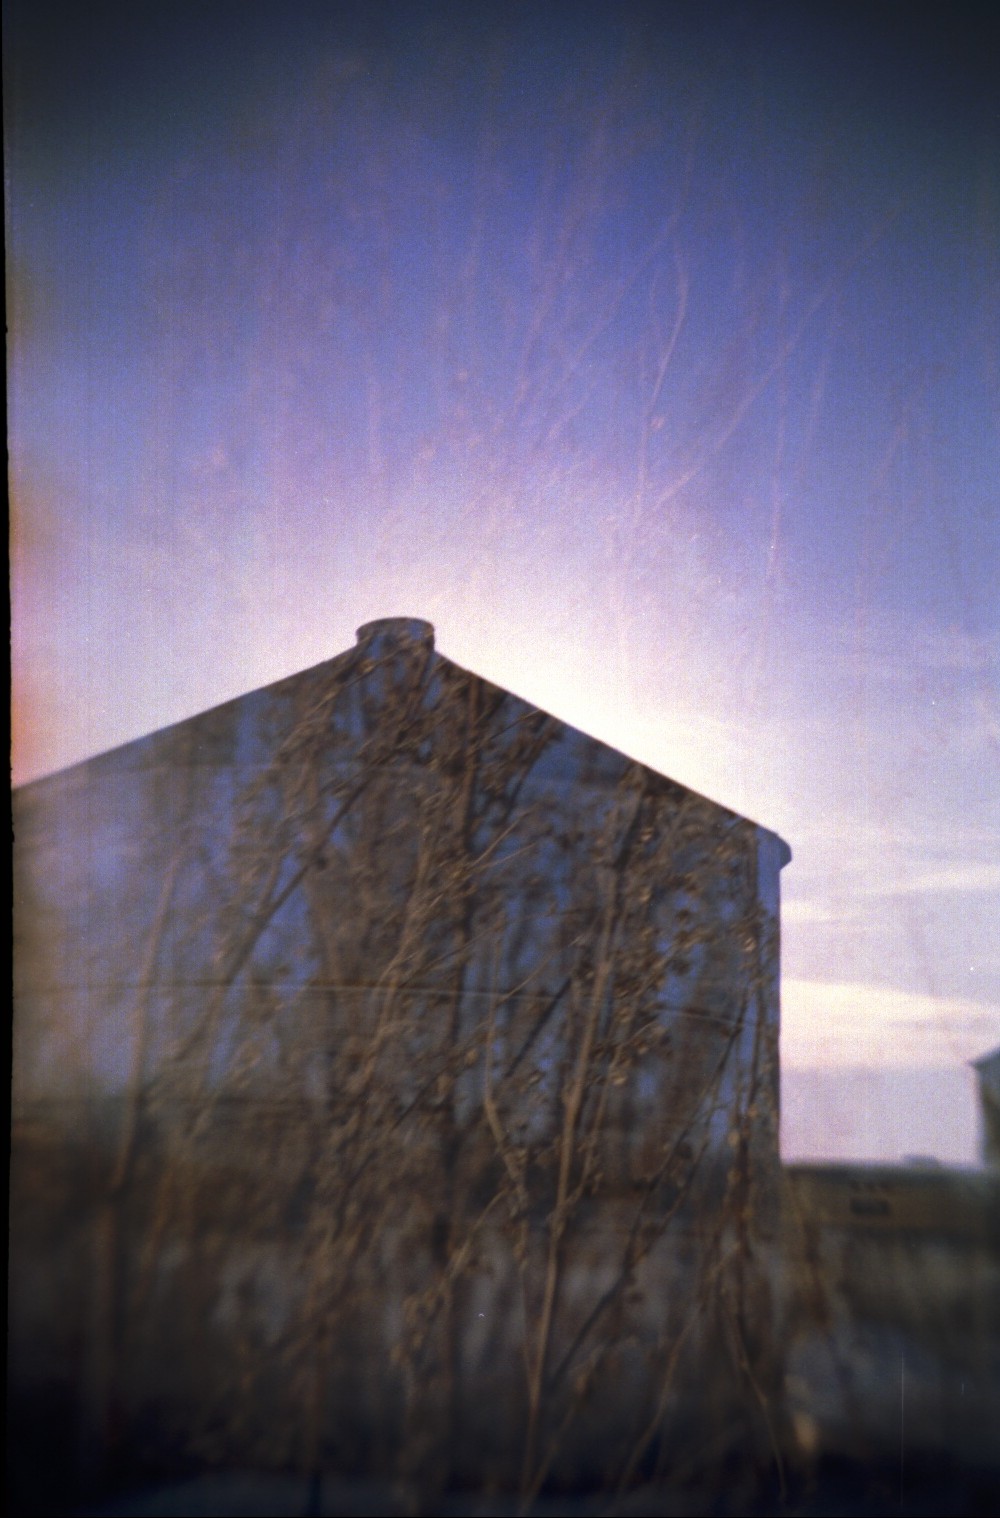
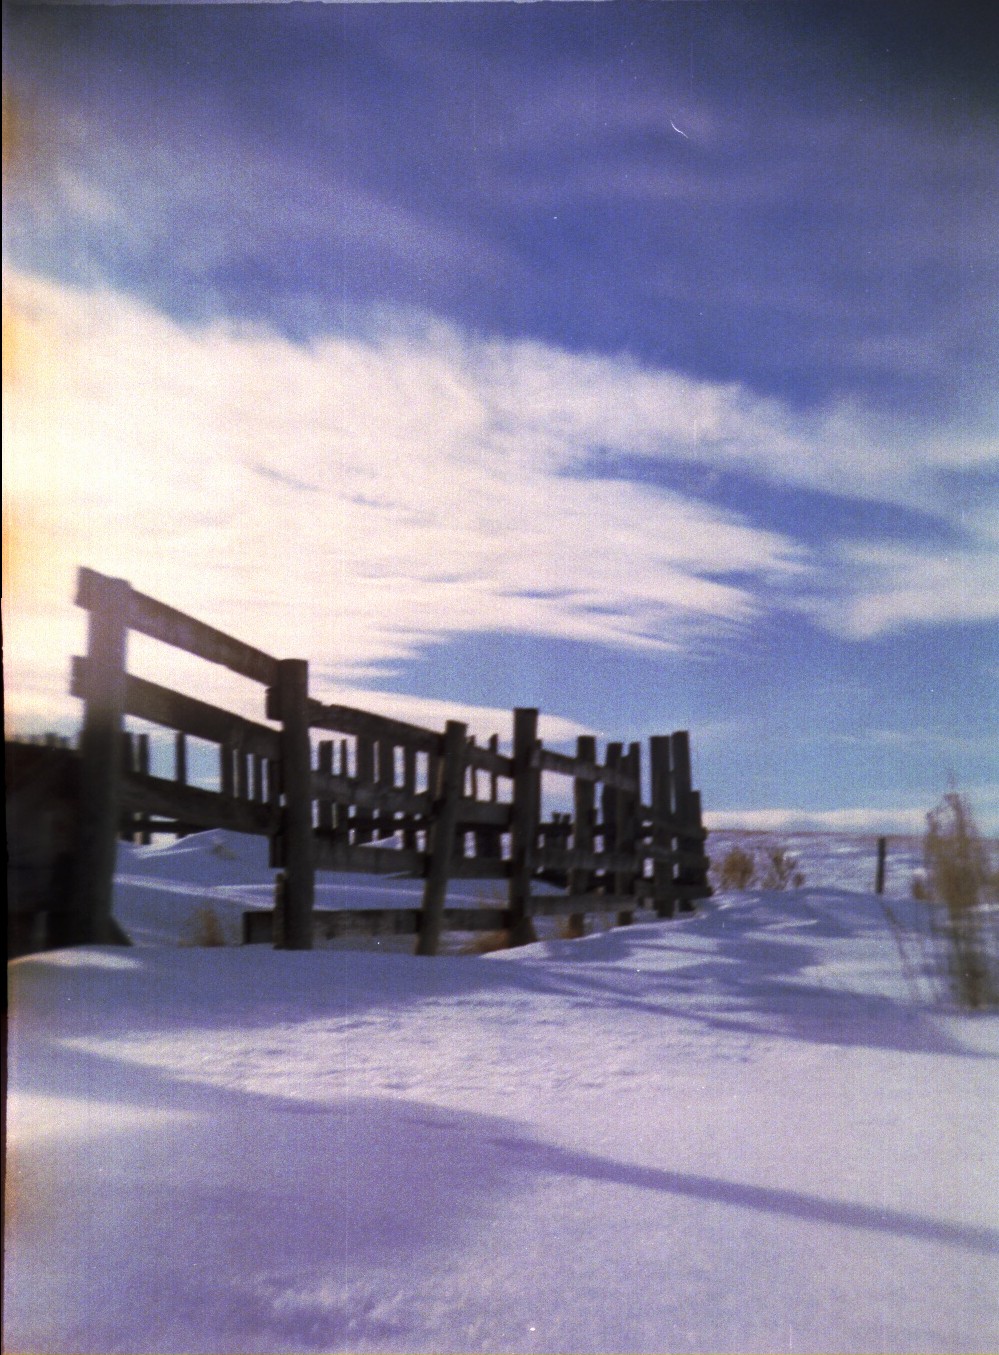
Here are some photos that I took with the Fotodiox TLR, when the cost of film processing was still reasonable. One of the unique things I like about this plastic lens is the reduced saturation (or vignetting) it produces towards the photo’s edges. :


[tag]photography, fotodiox, film, review[/tag]